
DIY Bike Kickstand: What It Takes, and When to Just Buy One
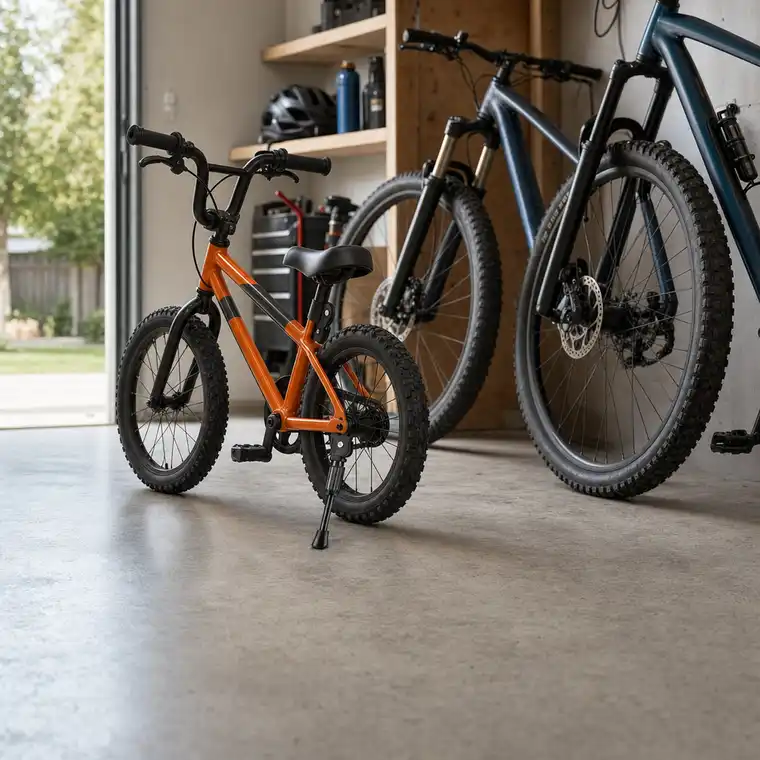
Plenty of bikes roll out of the store with no stand at all, and the thought arrives naturally at the workbench: it is one leg, how hard can this be. The fair-sized surprise is that it is a real Saturday project, one of the better ones to share with the kid who rides the bike, and that a careful build will hold a bike up in a garage for years.
This page covers the whole bench. It describes the three builds that actually work and the geometry every one of them has to respect, and it names the four gaps that no amount of sanding closes, so that you know before the first cut which bike your build can serve and which bike needs the finished part.
The job description, before any material is cut
It pays to know what the part is doing before choosing a material for it. A parked bike is not balanced upright; it leans onto the stand, so the leg is loaded the whole time it is down, and every knock of a pedal, gust of wind or bag hung on the bars runs through it. The load is modest, but it never lets go, which is why joints that feel tight on Saturday afternoon are loose by October.
The second half of the job is the half first-time builders forget: the leg has to disappear when the bike moves. A leg fixed rigidly at parking height would catch the ground on the first lean into a corner. That leaves two workable designs for a home build: a leg that pivots on its mounting bolt and gets flipped up by hand before riding, or a prop that lifts off entirely and stays behind in the garage.
The geometry: length, foot, and where it meets the frame
Cut the leg too long and the bike stands nearly vertical, ready to topple to the far side; cut it too short and the lean is so deep that a nudge on the bars brings the bike down. The five fixed Kickaroo lengths for kids bikes run from 7.3 in for a 12 inch wheel to 11.0 in for a 20 inch wheel, and those numbers are just as valid as targets for a homemade leg. Measure from the flat spot behind the crank straight down to the floor, then check your figure against the chart in the guide on what size kickstand fits a kids bike before committing a saw to it.
The foot decides where the bike can actually park. A sawn wood end or a bare pipe mouth is a spike: it holds on concrete and sinks into every lawn and gravel patch it meets. Give the leg a foot with real area, a rubber cap or a wide sanded bevel, and then judge the ground the same way you would with any stand; everything in the guide on where to park a bike so it stays up applies to a homemade leg word for word.
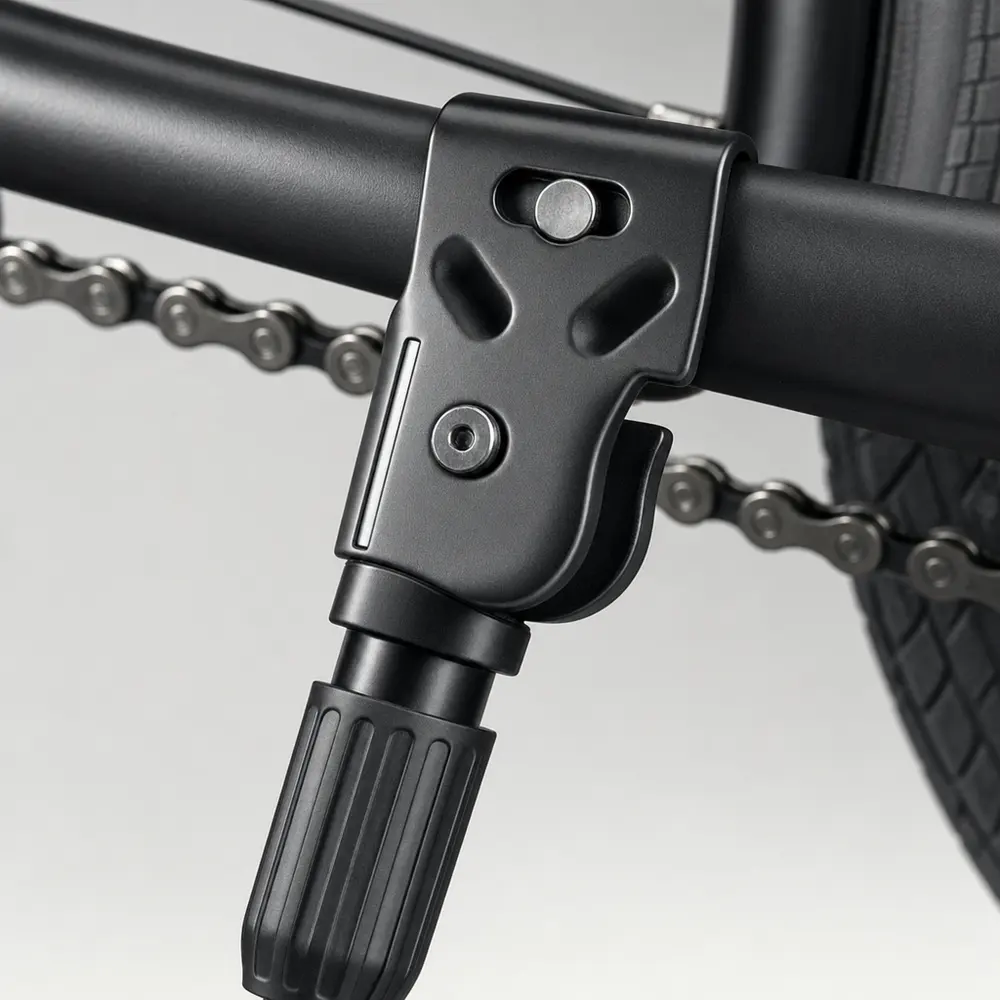
The fastening point is the least negotiable of the three. The place a side stand belongs is the chainstay behind the crank, low on the frame and close to the rear wheel, where the finished product bolts through a fitted plate. A home build almost always clamps around the stay instead, and that difference, a squeezed grip against a machined face, is where most of the last section of this page comes from.
The wood build: a prop stick or a bolted leg
The prop stick is the version with nothing to install. Cut a shallow V-notch into the top, set the notch under the seat stay, and lean the bike onto it: the notch keeps the tube from sliding, the bike's weight keeps the stick planted. It works on any frame, including the ones that give a stand nowhere to bolt, and a coat of varnish plus a rubber cap on the foot makes it a tidy piece of garage furniture. Its one condition is that it stays where it lives; the bike cannot take it along.
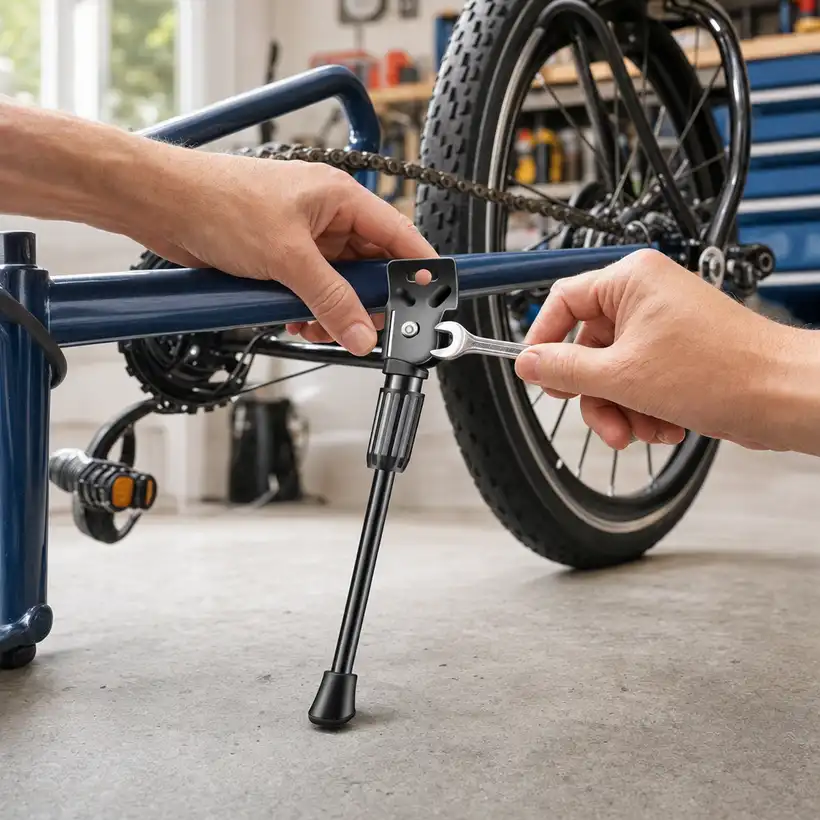
The bolted version rides with the bike. The leg hangs from a single bolt passed through a clamp around the chainstay, pivots on that bolt, and a wing nut locks it down for parking and up for riding. Pad the clamp with a strip of old inner tube so it grips rubber instead of chewing paint. What wood concedes is stiffness and permanence: the leg flexes visibly under an adult bike, threads cut into wood back out as the seasons move the grain, and a wet winter will move it further.
The PVC build: the lightest leg
The shaping is the pleasant part. Warm the top of the pipe until it softens, press it flat between two boards, and you have a tab that takes the pivot bolt cleanly; the bottom end takes a push-on rubber cap that outperforms most homemade feet in one move. The result weighs next to nothing, never rusts, never swells, and does not mind being left out in the rain.
The concessions are structural. Pipe is a tube optimized for pressure from the inside, not for a bending load from the side, so the leg flexes more than either wood or steel, and the flex grows in summer heat. The drilled pivot hole is the stress point: when a PVC build fails, the crack almost always starts there. Keep this leg under the lightest bike in the garage and it will serve; ask it to hold a loaded commuter and it will fold politely.
The flat steel build: closest to the real thing
The sequence is bend, cut, drill, soften. Clamp the bar in a vice and bend a short L at the bottom to serve as the foot, cut the leg to your measured length, drill the top for the pivot bolt, and round every edge with a file, because a raw sheared corner will find a shin eventually. Bolted through a padded clamp on the chainstay, this leg does not flex under an adult bike, and the wing-nut pivot gives it a genuine up position for riding.
Steel asks for two ongoing payments. The first is at the bench: a hacksaw through bar stock and a drill bit that stays sharp in steel are a different afternoon from whittling a dowel. The second never ends: every cut edge and drilled hole is bare metal, and bare metal outdoors rusts from the first damp night, so the build is only finished once it is painted, and it is only maintained while the paint is.
The three builds, side by side
| The build | What it holds well | What gives up first |
|---|---|---|
| Wood, propped | A garage bike on a concrete floor | It is not fastened to the bike, so it stays home |
| Wood, bolted | The learning build, kindest to the frame | Flexes under load and loosens with the seasons |
| PVC pipe | The lightest leg, shrugs off rain | Flexes most, and cracks start at the drilled hole |
| Flat steel | A real swinging leg, stiffest of the three | Needs a vice and rusts at every cut edge |
One pattern runs through the table: the builds get stronger in the same order that they get harder on tools, on paint and on patience. The prop stick asks nothing of the frame and gives no mobility back; the steel leg gives real service and asks for a vice, a file and a paint pot. Where a bike falls on that line is a fine thing to know before Saturday morning rather than after.
The four gaps that do not sand away
The spring is the gap with consequences. A production stand snaps its leg up on its own the moment a toe flicks it, which is the feature that lets a distracted eight-year-old ride off safely a dozen times a day. A homemade leg stays exactly where it was left, and a leg left down meets the ground at the first corner. On a bike ridden by an adult who checks, that is a habit; on a kids bike, it is the reason this gap sits first on the list.
The joint is the gap that arrives quietly. Every force on the leg funnels through the fastening, and a clamp squeezed around a painted tube holds by friction alone: one hard knock, one dropped bike, and the clamp rotates a few degrees, after which the length is still right but the lean no longer is. A fitted plate spreads that same load across a machined steel face, 0.98 by 1.65 in and 3 mm thick on ours, pulled tight by a proper 0.31 to 0.39 in bolt. Friction also cuts both ways: grit works under the clamp, and the paint ring it leaves is permanent. And one bike sits off the table for homemade work altogether: an e-bike is the heaviest and most expensive machine in the garage, and it gets the purpose-built adjustable stand for e-bikes or nothing.
Where a build serves, and where the finished stand takes over
The build earns its place in three situations. A bike that lives indoors and parks on the same patch of concrete every night is the setting a varnished prop stick was cut for. A weekend at the bench with the kid who rides the bike produces something better than a part: a rider who understands what is holding the bike up. And a frame with no mounting point at all cannot take a bolted stand from anyone, ours included, so the prop stick is the one design left standing there.
The finished part takes over where the gaps in the last section start to cost. The kids stand comes cut in five lengths, one price across all of them, with the return spring, the fitted plate and the rubber foot already on; the adult stand adjusts once to any frame from 20 to 29 inch wheels and locks. If the open question is which of the two ranges a given bike takes, the guide on how to pick the right kickstand sorts the household bike by bike, and fitting the part is a twenty minute job with the step-by-step installation guide open on a phone, including the one bolt that does not come in the box.
Wheel sizes covered by the two ranges, five fixed kids lengths plus the adjustable adult stand
— Kickaroo product specification, 2026
Average across 416 verified buyer ratings on the kids range and 1,099 on the adult range
— Kickaroo verified buyer ratings, 2026
The short version
A homemade kickstand is a genuine project with a genuine result, and the bike it suits is probably in your garage right now. So, in most households, is the other kind: the daily bike, the kid's bike, the one that needs the spring and the plate. Both ranges of the finished stand sit on the home page with the size selector, and every one ships free with thirty days to change your mind.
The leg that comes cut, sprung and plated
Five fixed lengths for 12 to 20 inch wheels, and the adjustable aluminum stand for 20 to 29 inch wheels. Free shipping and a 30-day money-back guarantee on both.
See both ranges and pick a size